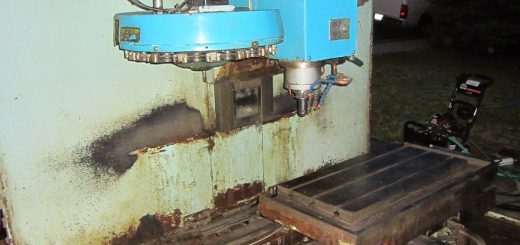
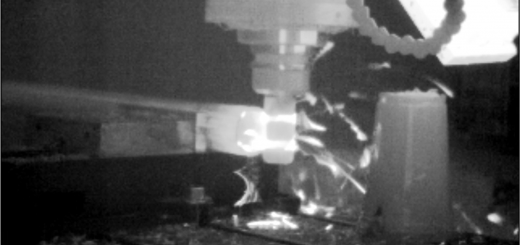
CNC Touch Probe
The first step in machining a part on a CNC is setting up all the tools that will be used. The machine knows precisely where the spindle is but tool lengths can vary, so the length of each tool must be measured before the machine can cut a part. The process of manually measuring tool length can be tedious and difficult to do accurately. CNC Touch probe to the rescue!
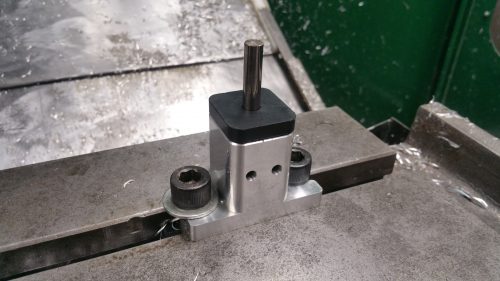
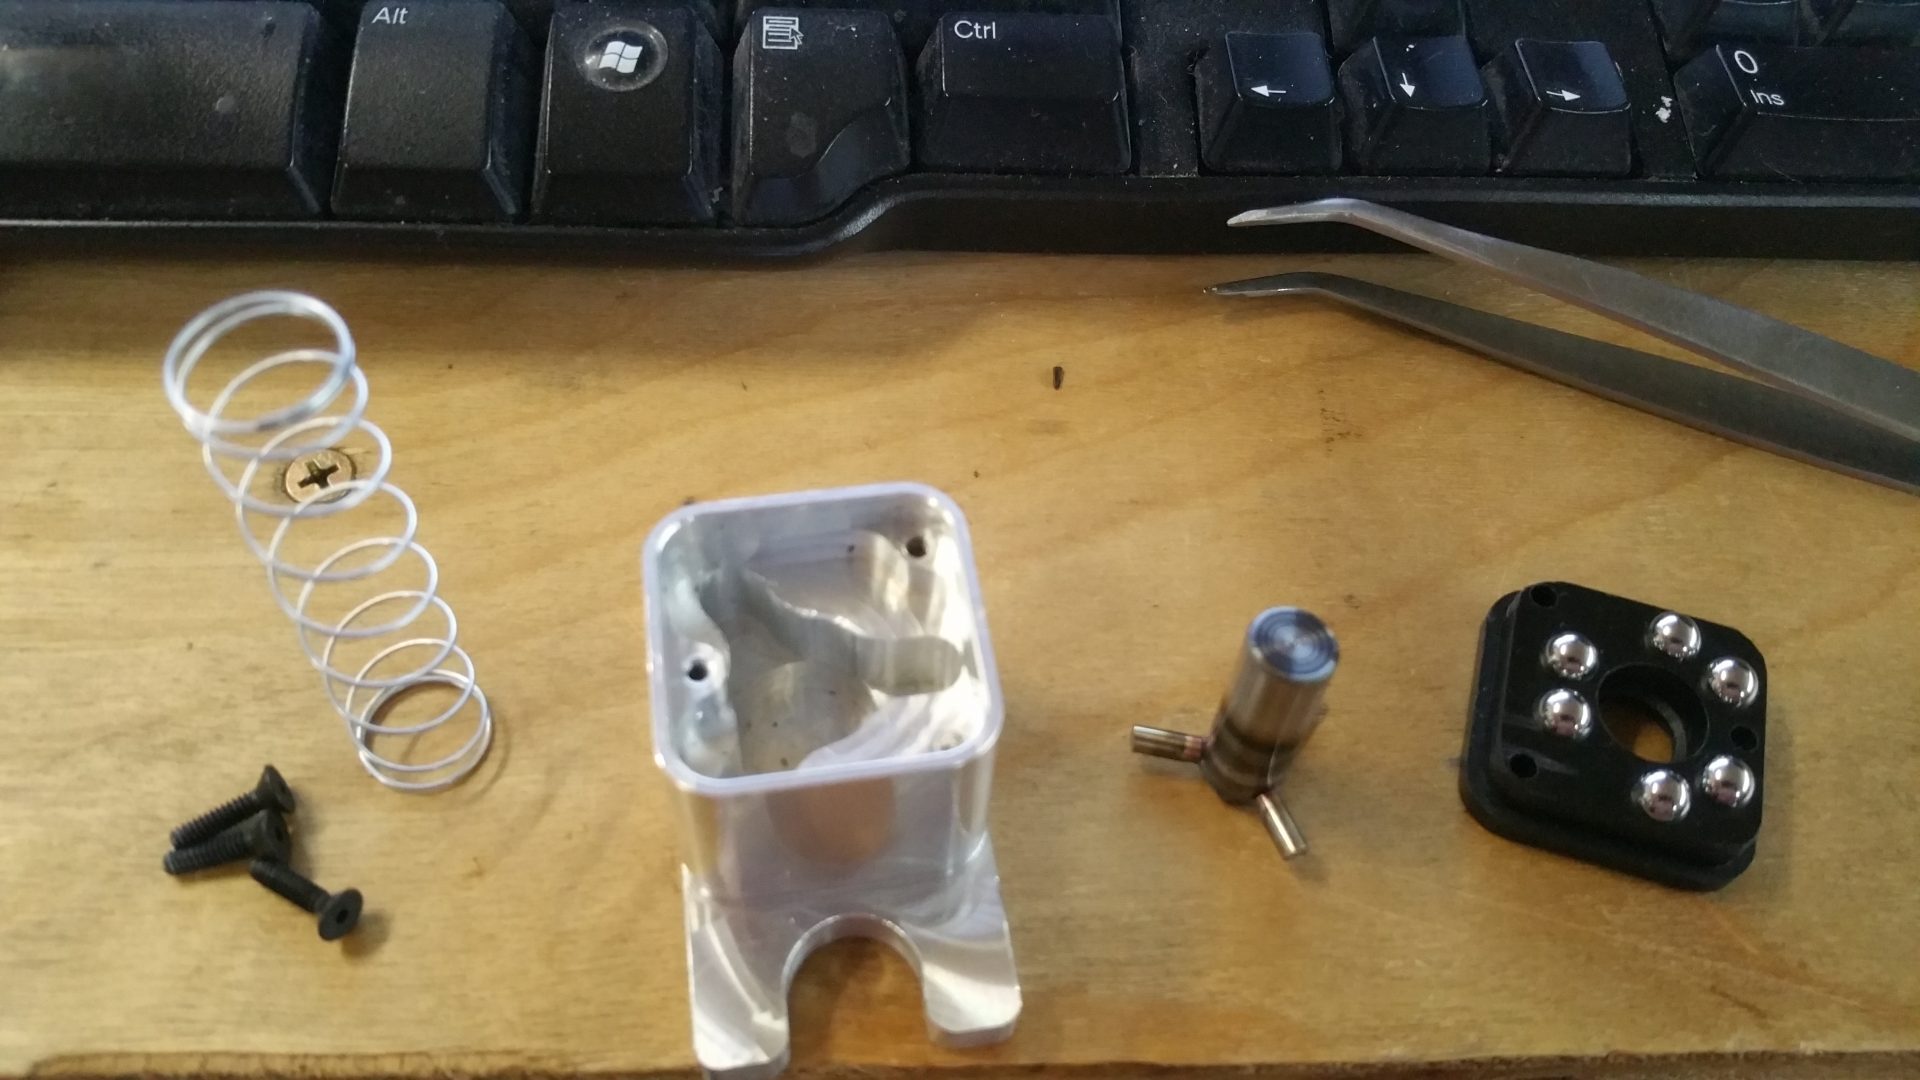
At a very basic level, it is a switch. A tool is loaded into the spindle, the machine moves the Z axis down until it touches the switch and the position is recorded. The challenge is in designing a switch that is extremely repeatably opened at exactly the same position. Renishaw figured out a very clever way of making such a switch, which they patented back in 1992. By using six bearings and three dowel pins arranged in a circle, six very precise contact points can be formed, defining a point and orientation in 3D space.
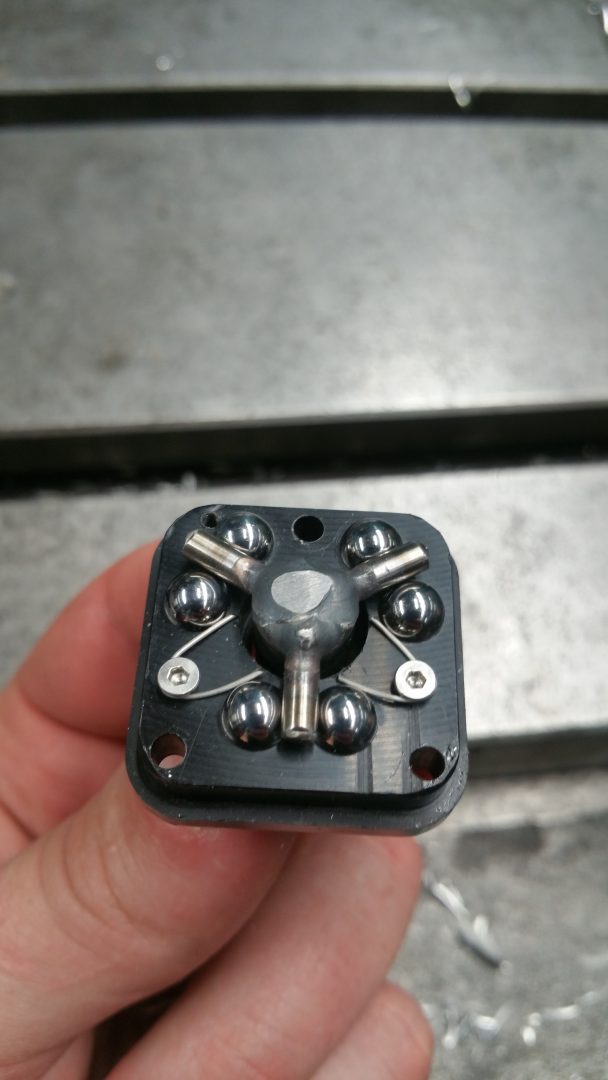
By using some ball bearings and ground dowel pins, I was able to build a very accurate probe using the same concept. The little screws in the picture below have piano wire wrapped around them to create electrical contacts. This picture does not have the wires that go back to the machine attached yet.
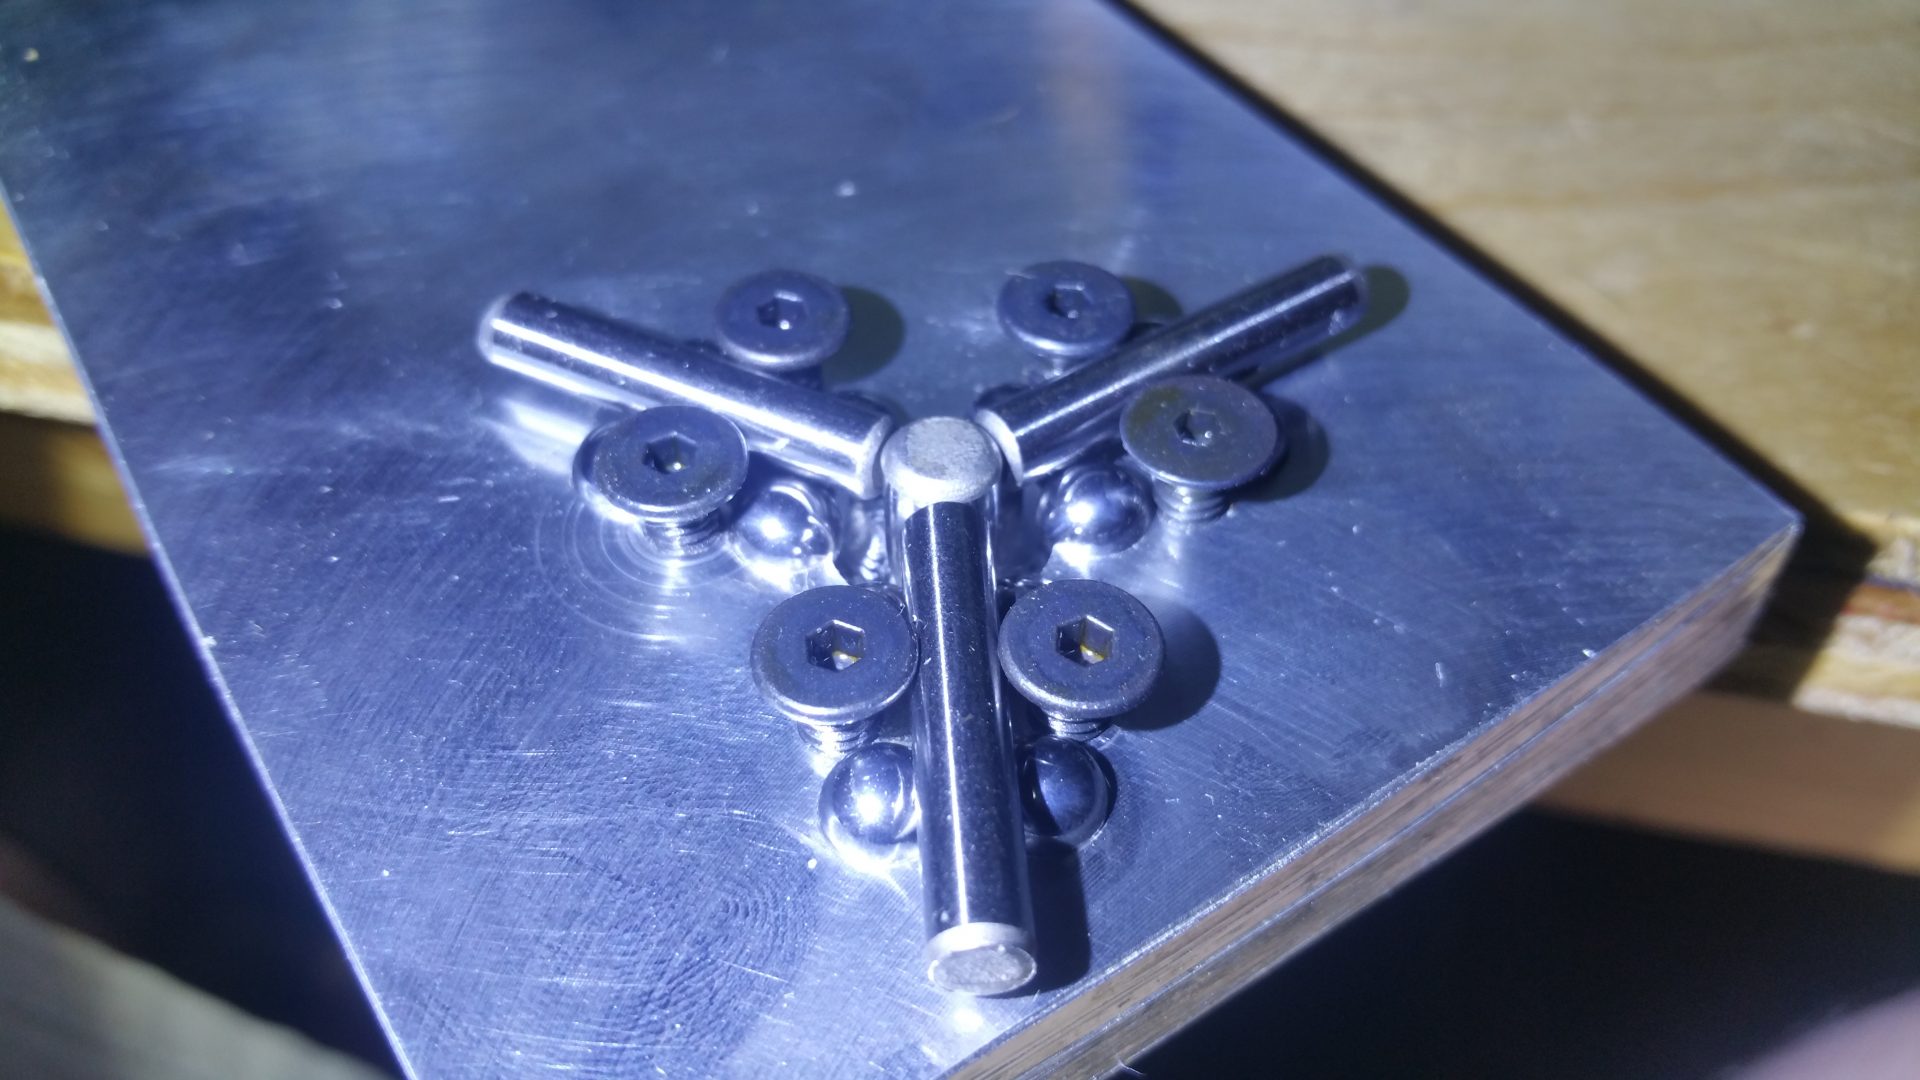
To make the dowel pin part of the probe, I machined a welding jig using a few bearings and some bolts to hold the dowel rods in place. The beauty of the probe design is that the dowel pins don’t have to be extremely precisely aligned, as long as they are rigid. The probe will ‘self center’ on the bearings extremely repeatably.
Tool length touch probe for my CNC (Rev 1)
Next, I need to solve the issue of contact corrosion. In the last prototype, a bit of coolant got into the probe and the contacts corroded in a matter of hours. I am considering gold or tin plating the dowel pins. Any suggestions?
